Lecture 9
Final Project - Milestone 1 due 4/29 by 11:59pm
Final Project - Milestone 2 due 5/6 by 11:59pm
Final Project - Milestone 3 due 5/13 by 11:59pm
What is Authentication?
We use authentication to refer to the verification of a user's identity. In many cases we want to prevent users from pretending to be a person that they are not.
caution
Identity theft is not a joke Jim!
On websites, we want users to have "accounts" and be able to perform actions like logging in and logging out.
Here are some common ways of authenticating users:
- Password
- Email link
- Phone number
- OAuth (Sign in with Google/Apple/etc)
- Anonymous
Password
Username/password combos have been by far the most prevalent method for authentication. Usernames are usually either bound to the user's email or is simply chosen by the user upon registration.
Despite the popularity, password-based authentication has some pitfalls.
- It's annoying to type your password every time 😩😩
- Solved by browser autofill, BUT is prone to attacks
- If you ever get infected by malware, say goodbye to your passwords!
- Also prone to other attacks
- Hashes (especially with older algorithms) are breakable
There always seems to be a tradeoff:
- Use the same password for multiple websites = one site gets hacked and now they have all your passwords
- Use different passwords for multiple websites = i forgor 💀
- Use password management software = one central password 🤡
Despite these pitfalls, password-based authentication is not particularly bad to use. However let's check out some other options!
Email Link/Phone number
This method of authentication assumes you have an email address or phone number that only you have access to. When you want to log in, an automated service will send an email or text message with a link or code, which you will click or enter to prove your identity.
With this format, there is no password to remember!
However, email/SMS sending requires a good amount of additional "infrastructure" and if taken down, disrupts everyone's ability to login this way.
Logging in this way can be slower than typing a password, which is a possible disadvantage as well.
OAuth
By OAuth we refer to the whole family of 3rd party login providers, perhaps most popular being Sign In With Google.
This approach to authentication allows us to "offload" all of the login logic to another provider such as Google, magically giving us the authentication data at the end. We get the same advantages as Email/SMS by not having to worry about storing passwords securely.
If users are already signed into the third party provider, such as Google, logging in can be as fast as just clicking a button.
One disadvantage of using OAuth is that we expect users to already have accounts with the provider. However this is offset by the monopolization of the Internet - it is hard to find users without accounts on these platforms.
We prefer this approach when building apps for Cornell because every netid has a Google Workspace account, which we can accept through OAuth.
Anonymous
This is a half-approach to authentication and usually an addition to other authentication schemes.
Anonymous sign in allows you to instantly create an account without any email or password or anything. However this is with the catch that the account is temporary - you would need to link it with another sign-in method in order to "save" the account.
If you accidentally close the browser and/or lose cookies or session data, your account is gone forever!
All in all, this is a pretty niche way to offer account creation, and not something we will delve into this course.
Why Authentication?
In almost any kind of website that deals with data, you don't want anybody to be able to do anything they want.
For example, on a social media site, you would only want the user themselves to be able to change their bio or post something. Some sites offer certain content only for certain accounts (like Netflix).
By authenticating users, we are able to implement this kind of logic to restrict different users to different actions (also known as authorization)!
Authentication In Practice
Firebase Auth
Firebase offers a simple API which allows for multiple ways of logging in: Password, Email, Phone, OAuth, Anonymous (everything we've discussed above)
There are some pain points with taking advantage of Next.js's SSR with Firebase Auth, but it works well with just client side auth!
Before writing any code, you need to setup Firebase Auth in Firebase Console.
In your project's Firebase Console, click on the authentication icon below the settings icon:
![]()
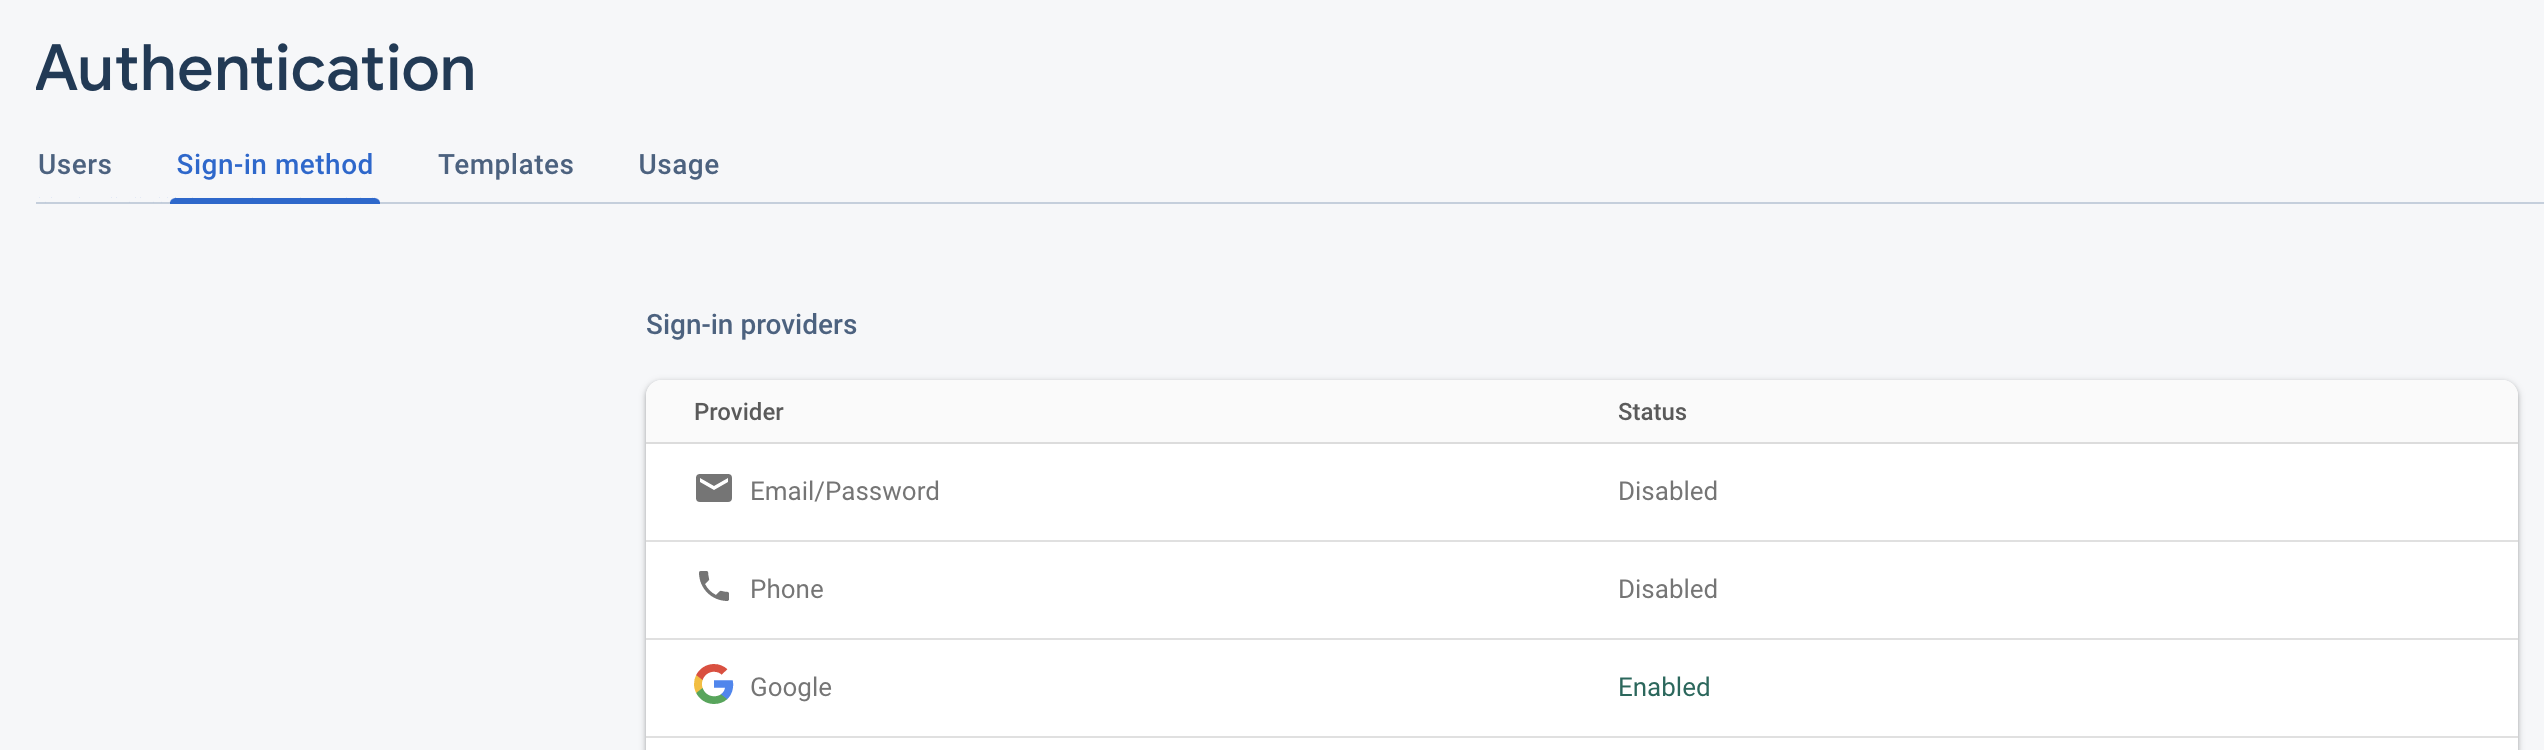
Then click on the sign-in method tab and enable Google login by following the setup instructions:
tip
Check the demo code for code examples on how to implement authentication with Firebase Auth using Google Sign In!
Firebase Providers
Just as we did getFirestore(app) to get the Firestore instance of our Firebase
app, we can do getAuth(app) to get access to Firebase Auth.
Then we will set up a GoogleAuthProvider so that users can log in to our site
using Google!
To help us with this, we will use a library called react-with-firebase-auth,
which you can install with
yarn add react-with-firebase-auth
After following relevant documentation, you should get something like this:
// other imports
import withFirebaseAuth from 'react-with-firebase-auth';

// other Firebase setup stuff

const auth = getAuth(app);
const db = getFirestore(app);

const providers = {
  googleProvider: new GoogleAuthProvider(),
};

const createComponentWithAuth = withFirebaseAuth({
  providers,
  firebaseAppAuth: auth,
});

const signInWithGoogle = () => {
  signInWithPopup(auth, providers.googleProvider);
};

const signOutFirebase = () => {
  signOut(auth);
};

export {
  db,
  auth,
  createComponentWithAuth,
  signInWithGoogle,
  signOutFirebase as signOut,
};
See util/firebase.ts in the demo code below for more!
React Context
In our React app, we want to store auth/user data somewhere.
Unlike regular component state, authentication data is something that almost all components want access to. We could stick it as regular state in the very top component in our component tree, but that would have to be passed down through props over and over...
We can use React Context with the useContext hook (discussed in Lecture
6) to solve this prop drilling problem.
// other imports
import { WrappedComponentProps } from 'react-with-firebase-auth';
import { createComponentWithAuth } from '../../util/firebase';

type AuthData = Omit<WrappedComponentProps, 'user'> & {
  user?: User | null;
};

const AuthUserContext = createContext<AuthData | undefined>(undefined);

const AuthUserProvider: FC<WrappedComponentProps> = ({ children, ...auth }) => (
  <AuthUserContext.Provider value={auth}>{children}</AuthUserContext.Provider>
);

export default createComponentWithAuth(AuthUserProvider);

export const useAuth = () => {
  const context = useContext(AuthUserContext);
  if (!context) throw new Error('AuthUserContext has no value');
  return context;
};
After creating this Context Provider, we can wrap our root component in
pages/_app.tsx so that any child component can access and interact with our
context.
// other imports
import AuthUserProvider from '../components/auth/AuthUserProvider';

function App({ Component, pageProps }: AppProps) {
  return (
    <ChakraProvider>
      <AuthUserProvider>
        <Component {...pageProps} />
      </AuthUserProvider>
    </ChakraProvider>
  );
}

export default App;
Once that is done, you can log in by calling the function inside the context:
import { signInWithGoogle } from '../util/firebase';

//...

<Button onClick={signInWithGoogle}>Sign In</Button>;
See components/auth/AuthUserProvider.tsx in the demo code below for more!
Protecting Actions
Now that we can access which user is signed in, we would like to use the information to change how our app deals with the database.
Let's take Frodo, our Todo List app. We would like to give each user their own
todo list. To do this, we can add a field to every task called owner, which
specifies who created the task.
Then in our query to retrieve from the database, we can filter for only tasks that belong to the current user.
const { user } = useAuth();

//...

const taskQuery = query(
  collection(db, 'tasks'),
  where('owner', '==', user!.uid),
);
Similarly, we can populate the owner field whenever we create a task.
const { user } = useAuth();

//...

const task: Task = {
  text: input,
  checked: false,
  owner: user!.uid,
};
addDoc(collection(db, 'tasks'), task);
Demo code
Feel free to reference our demo code to implement authentication in your final project!
In addition, here is a supplemental video explaining the demo code: Video Link