Assignment 5
For A5, you'll be building a React app that utilizes conditional rendering and the concept of lifting state up.
In this project, we'll be building a searchable/filterable shopping list that maintains a list of items, each with its own metadata. This metadata simply consists of the name of the item and whether it has been purchased. The app is composed out of a few components: one that maintains each item itself, one that renders the list of items, and one that acts as a search bar for us to filter and search through our list of items, rerendering the list of items. There will also be some text describing the state of the shopping list. We will use a potpourri of React knowledge to accomplish all of this, including lifting state up, conditional rendering, hooks, callbacks, and more!
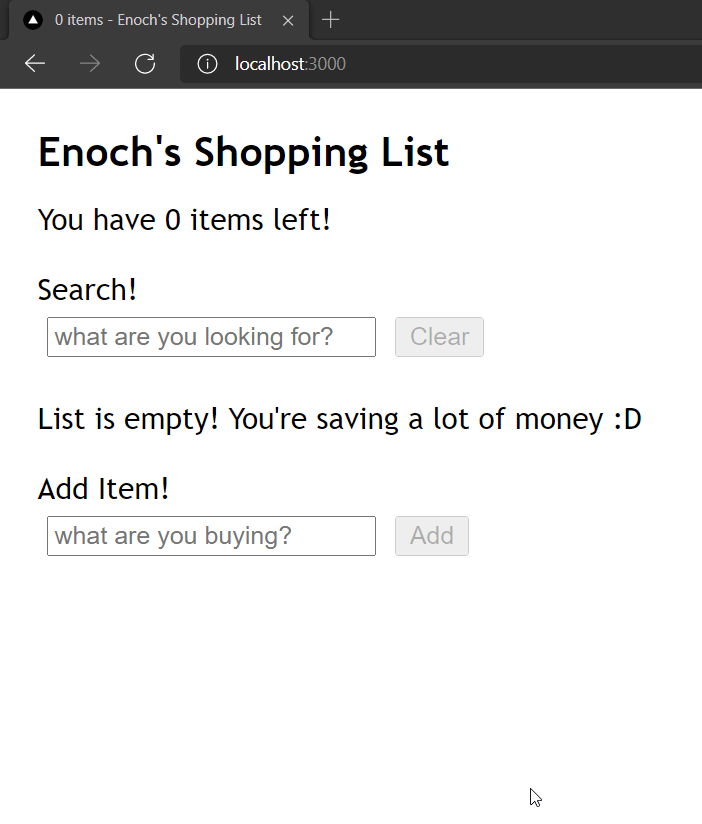
Here is a GIF showing the final functionality of the app:
Part 1 - App.tsx Scaffolding
In App.tsx, we will have two states, as well as a type definition to be exported
to other components. Let's start with the type definition. We want to make a
type for each item's metadata (remember, each item has a name and a "purchased"
status). When you define this, make sure to put the export keyword before the
type definition so that you can import it in other components that need to use
it.
Next, create the two states, each of which will be lifted up from a child component. The first state should represent all of the items (metadata) on the list, and the second should keep track of the current search query string. Do not display the list in this component; we will be passing it down to a child component.
Part 2 - Lifting State Up
Create two components: SearchBar.tsx and AddItemBar.tsx. The first one will
have an <input> field representing the search bar, and will need to lift the
value of the input up into the App.tsx parent. The second one will also have a
input field, representing the name of the item to be added, as well as a button
to actually add the data to the list. The button onClick prop will be useful
for implementing this, as well as maintaining the state for the name in
AddItemBar.
At this point we can also do some input validation by disabling the add button
when the input field is empty. The disabled prop for buttons takes a boolean
and will be useful for this!
Once you've created these child components, add them to App.tsx and supply
them with the necessary props. Assuming you've lifted state up correctly from
them, you can now make use of the search query and the list of item metadata in
order to render a filtered list based on the query.
Part 3 - Render the Shopping List
Create a new component called ShoppingList.tsx. This should display the list
in a similar way as the songs list from Assignment 4, but should be made up of
the items that have the search query as a substring of their name
(hint).
It should also show each item's name and purchased status (as a checkbox). You
can format it as in the GIF.
How do we make a checkbox? Glad you asked! You can use <input type="checkbox" ... /> to represent tags. Useful props for this element/tag would be checked
(analogous to value for text inputs) and onChange. You'll need to use
callbacks to modify the item's lifted states up the tree!
(Hint: add something to the item metadata that uniquely identifies it)
Part 4 - Conditional Rendering
Use conditional rendering to handle two cases:
First, if there are no items in the shopping list, render some text that tells the user that the list is empty.
Second, if the search query didn't match any of the items in the list, make sure to render a message saying that the item could not be found.
Else, just show the list.
Part 5 - Status Text
Each item has a purchased status - let's display how many we have left to buy!
First, we will render this information on the webpage itself - this should be fairly simple.
Then, we will show something similar on the window title - the text on your browser tab. See the demo GIF for how it might look like. Make sure you display the number of unpurchased items in the list, and that it updates each time this number list changes!
The useEffect hook as well as the window.document.title property will be
useful.
Submission
Submit to CMS a zip file of everything in your project directory but remove
node_modules . Failure to remove node_modules will result in a 10
point deduction.
FAQ
Does my app need to look exactly like what the GIF shows?
No, you're free to make your UI as pretty or as ugly as you want, as long as the functionality is there.
Here is what you don't need:
- a "Clear" button for the search bar
- a "X" (remove) button for each item
- handling "item" vs "items" when there is 1 item - using "item(s)" is perfectly fine
- being able to add items by pressing "Enter" instead of clicking the button
- a random image of Spongebob (but feel free to add one!)
- to make dinner for your React app
Here is what you do need:
- a rendered shopping list of items
- a case-insensitive search bar (as shown in demo GIF)
- an Add button that gets disabled when name field is empty
- a window title that gets updated
- interactable checkbox for each item that reflects its purchased status
How do I get the type for the callback function when lifting the state up from the child components?
You can mouse over the type (using VS Code) of the setter function in the useState
hook for the state you want to lift up into the App.tsx. This way, you can use
it in the prop type for each of the child components that need it.
Getting a weird error with my items state in the App.tsx (never[])
Unfortunately, TypeScript can't infer the type of your state if you set the initial
value to simply [], and it assumes that it's just a falsy value. To fix this,
make sure to parametrize the useState hook using the type definition you created;
for example, const [state, setState] = useState<MyType[]>([]).